Date and Time: 10/24/2016 1:30 pm
Location: Making and Knowing Lab
Subject: Grinding and Soaking Madder
We started off by measuring out 6 grams of madder roots using a scoopula. We then transferred the roots to a ceramic mortar to begin to grind down the larger roots to create a kind of powder. Our ceramic pestle was not heavy enough to really grind the madder effectively, so we transferred our roots to a larger stone mortar and pestle, which made the process a lot easier. Once the larger chunkier roots were broken to small bits and the majority of the madder was in powder form, we transferred the ground down roots to cheesecloth, which we doubled up. We used a metal spoon and a painbrush to gather the powder. We then tied up the cheesecloth with twine. Ben measured out 180 ml of distilled water into a 200 ml beaker, into which we immersed the cheesecloth. We used a spoon initially, then our hands, to press the cheesecloth so as to ensure the madder was fully immersed in water. The water quickly turned a rusty color, which turned quite a bit darker after only around 30 seconds of pressing the cloth. We then sealed the beaker and let the madder sit in water overnight on the counter.
Name: Emma Le Pouésard, Caitlyn Sellar and Ana Matisse Donefer-Hickie
Date and Time: 10/25/2016 2 pm
Location: Making and Knowing Lab
Subject: Heating and making the solution
For images of the processes carried out in this section, please see Ana Matisse's field notes.
After a night of soaking, the madder was ready to be heated to further extract the dye. We first looked up potash and potash alum in ChemWatch to determine the appropriate PPE and disposal methods, and after gearing up with glasses and gloves were ready to begin. We placed the glass beaker containing the bag of crushed roots on a burner, and brought it to 70 degrees, which took a few minutes. We then kept the temperature within 10 degrees of 70 degrees by taking the beaker off the burner and putting it back on as needed, as well as varying the level of the burner. We carried this on for 30 minutes. Caitlyn was largely in charge of this process, while Ana Matisse and I measured out the potash and the potash alum in small pastic containers. We mixed the potash with 120ml of distilled water and stirred with chopsticks until it was dissolved. Once 30 minutes of heating the madder roots had passed, we added the 3 grams of potash alum to the beaker and heated to 80 degrees, stirring to dissolve the potash alum. Once the temperature reached 80 degrees, we took the beaker off the burner. Using wooden spoons to avoid burning ourselves, we squeezed the water out of the cheesecloth bag into the beaker, and then set the cheesecloth bag with the roots aside to be discarded later. We then proceeded to filter our solution of dye and potash alum as bits of roots and cheesecloth were in the liquid. We used a coffee filter and a funnel to do so, which we placed over a 100ml beaker. We then slowly added the alkaline solution to the dyestuff (contrary to the instructions that call for the opposite to be done, but we reversed it as the 100ml beaker was larger and thus had more room for the reaction to take place). We noticed that my solution appeared to be effervescing more strongly than Caitlyn and Ana Matisse's, which perhaps had to do with the different concentration of dyestuff in each. It did seem that their solution had a greater amount of sediment than mine, probably because their coffee filter ruptured in the filtration process. After several minutes of vigorous stirring, we filtered the solution with a coffee filter over a mason jar. This was actually a mistake, as we were meant to let the solution sit overnight, probably to finish the effervescing process. Indeed, my solution was still bubbling very slightly as I poured it over the filter. We then set the jars of pigment aside for washing the following day.
-------------------------------------------------------------------------------------------------------------------------------------------------------
Name: Emma Le Pouésard
Date and Time: 10/25/2016 10 am
Location: Making and Knowing Lab
Subject: Washing the pigment
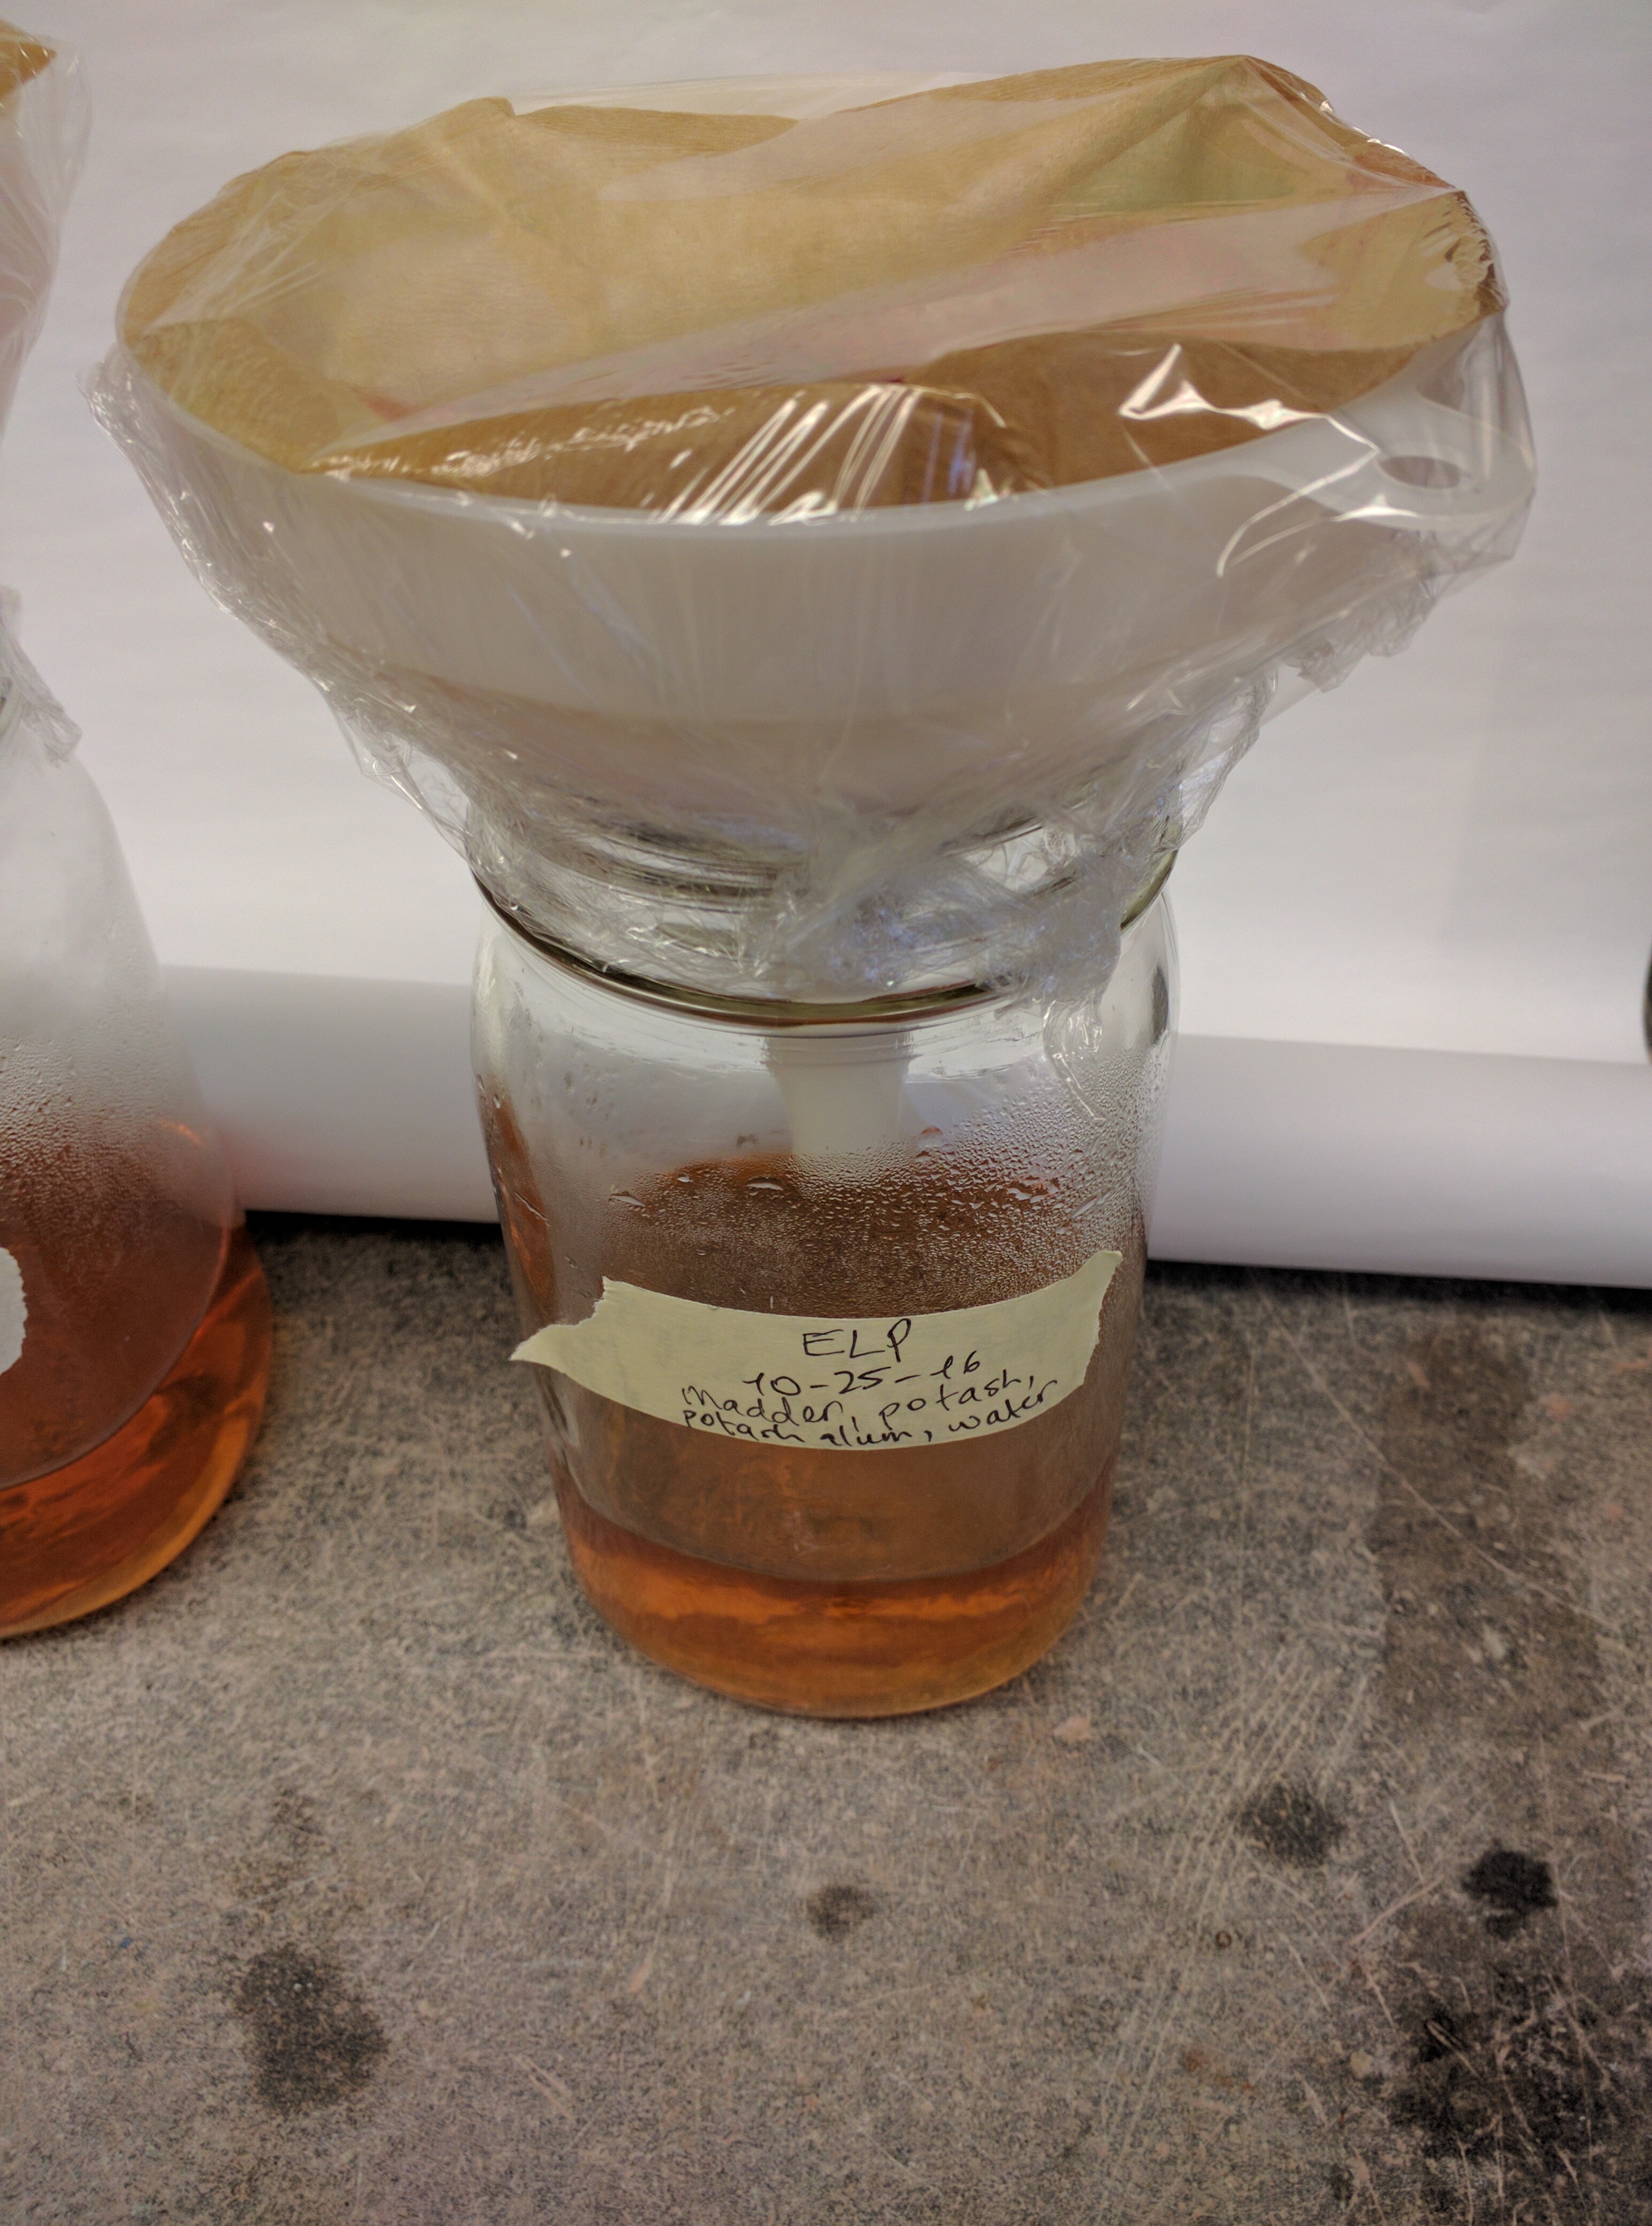
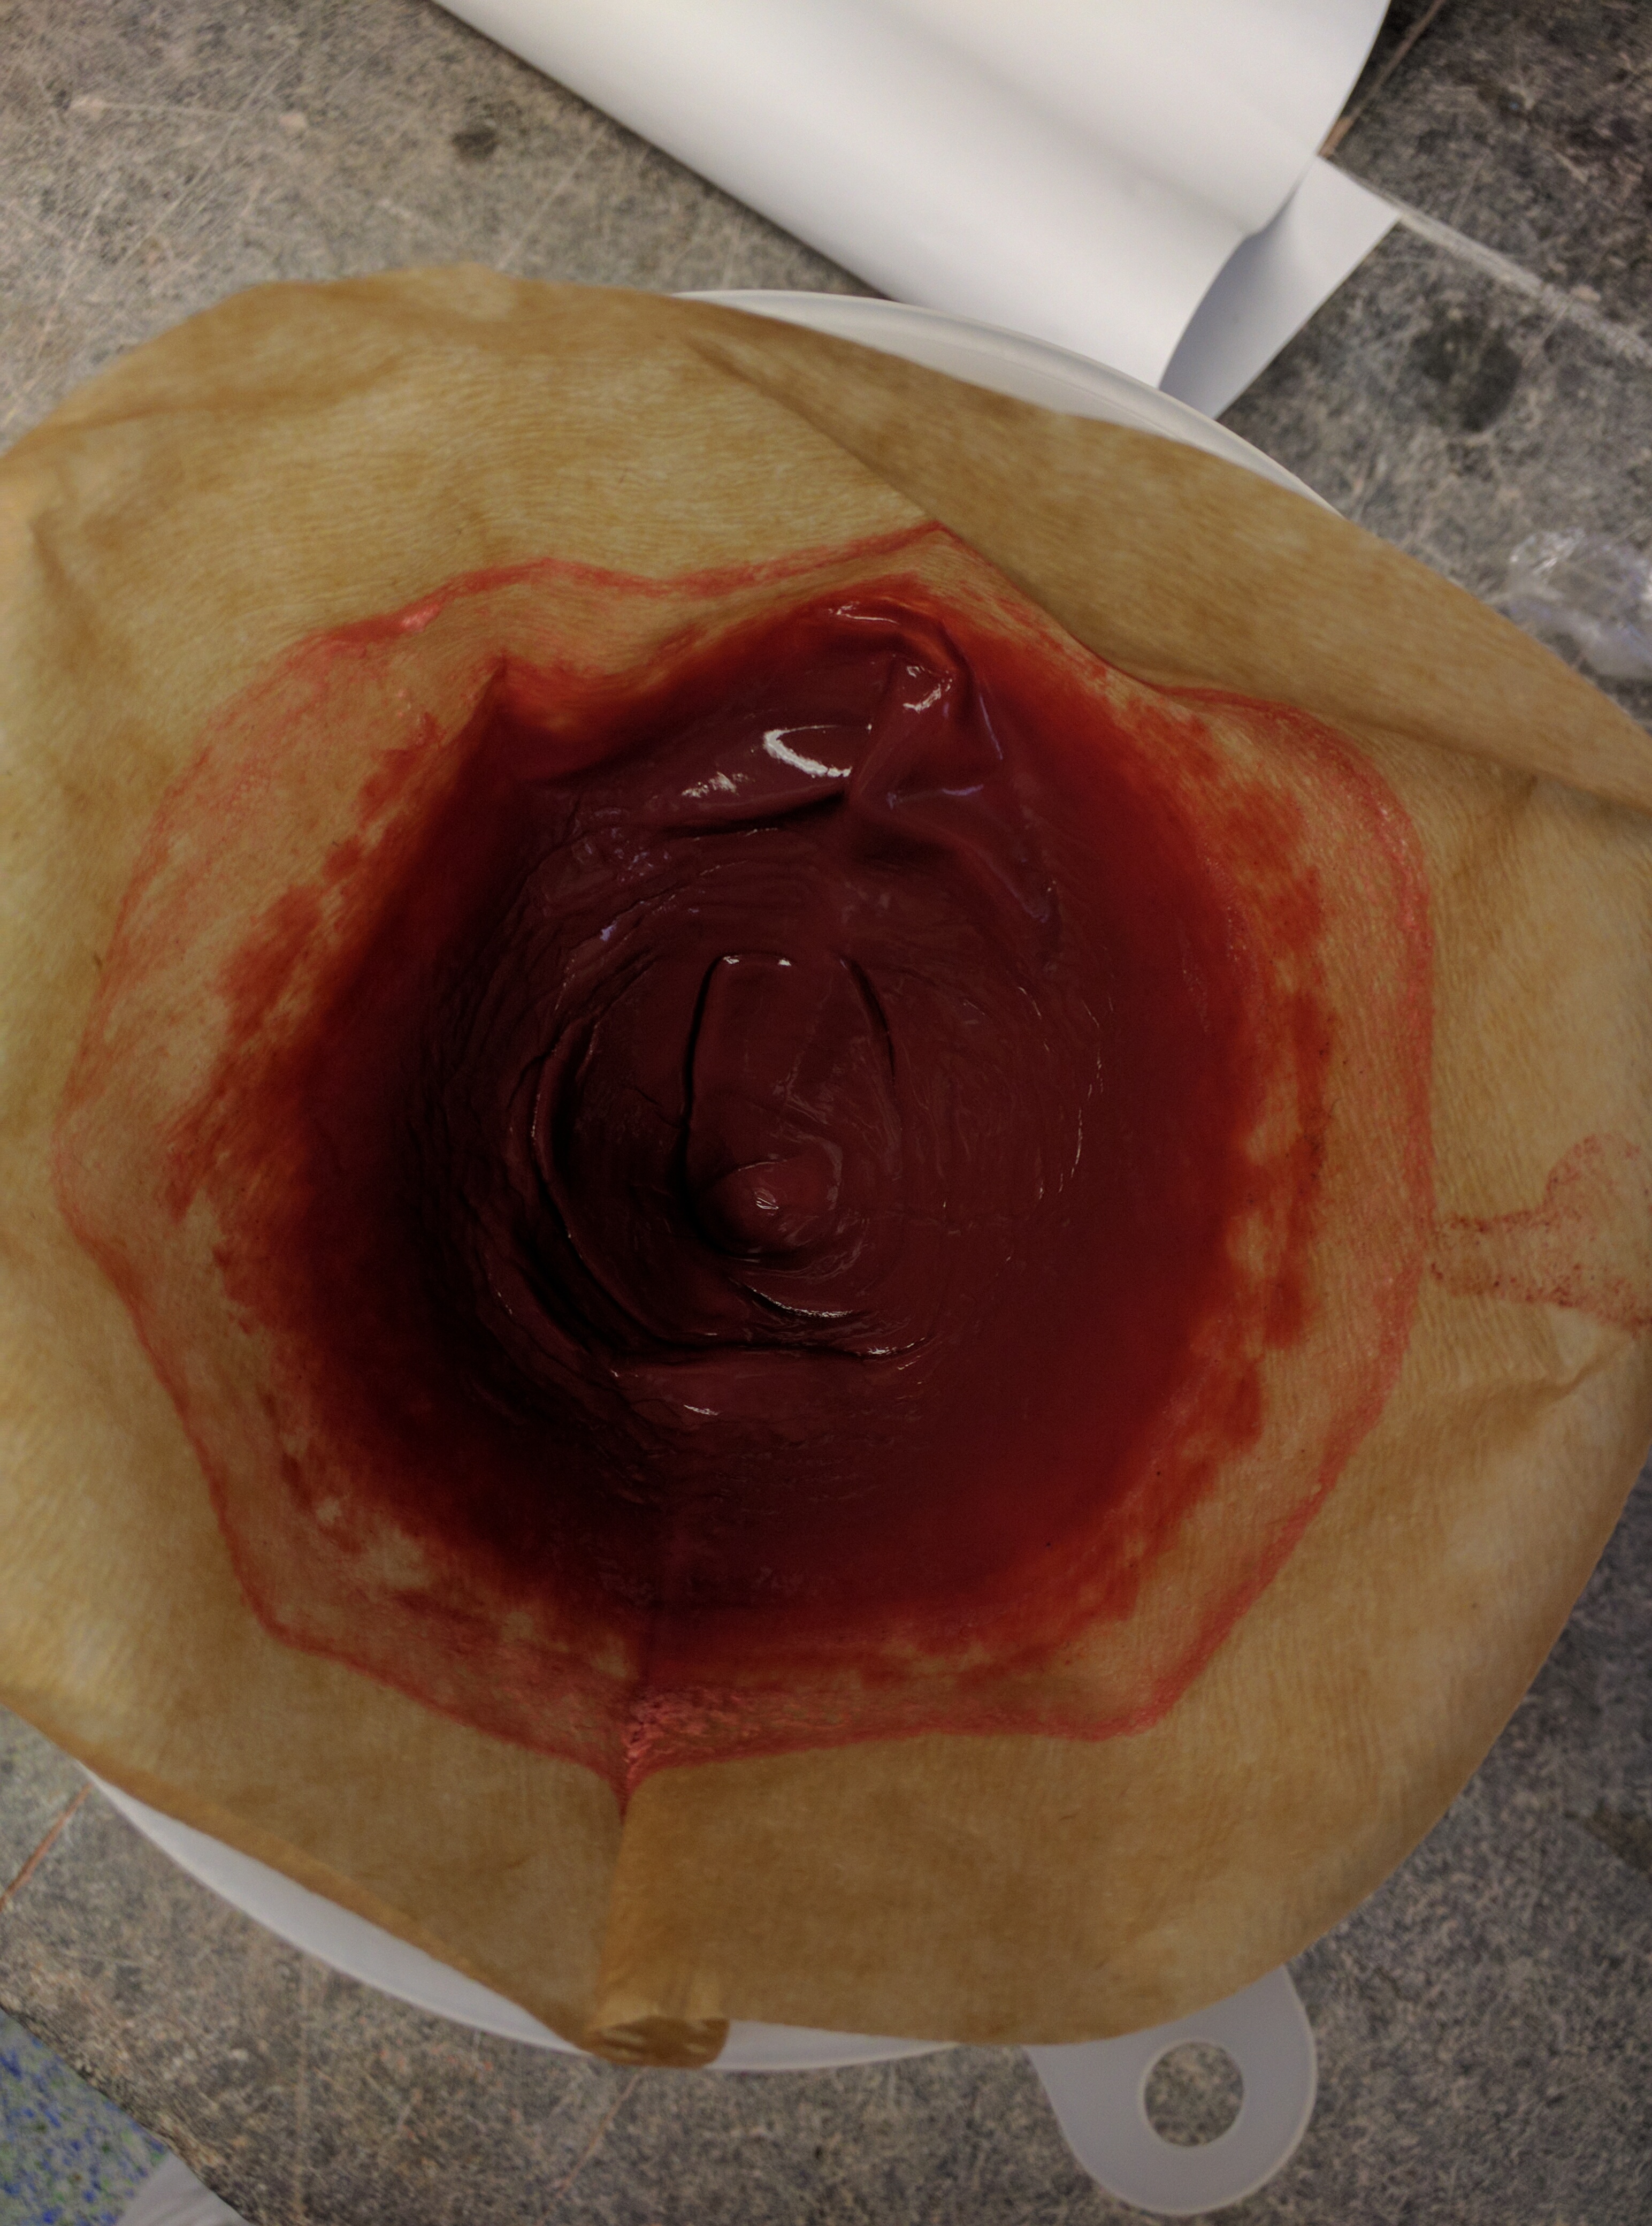
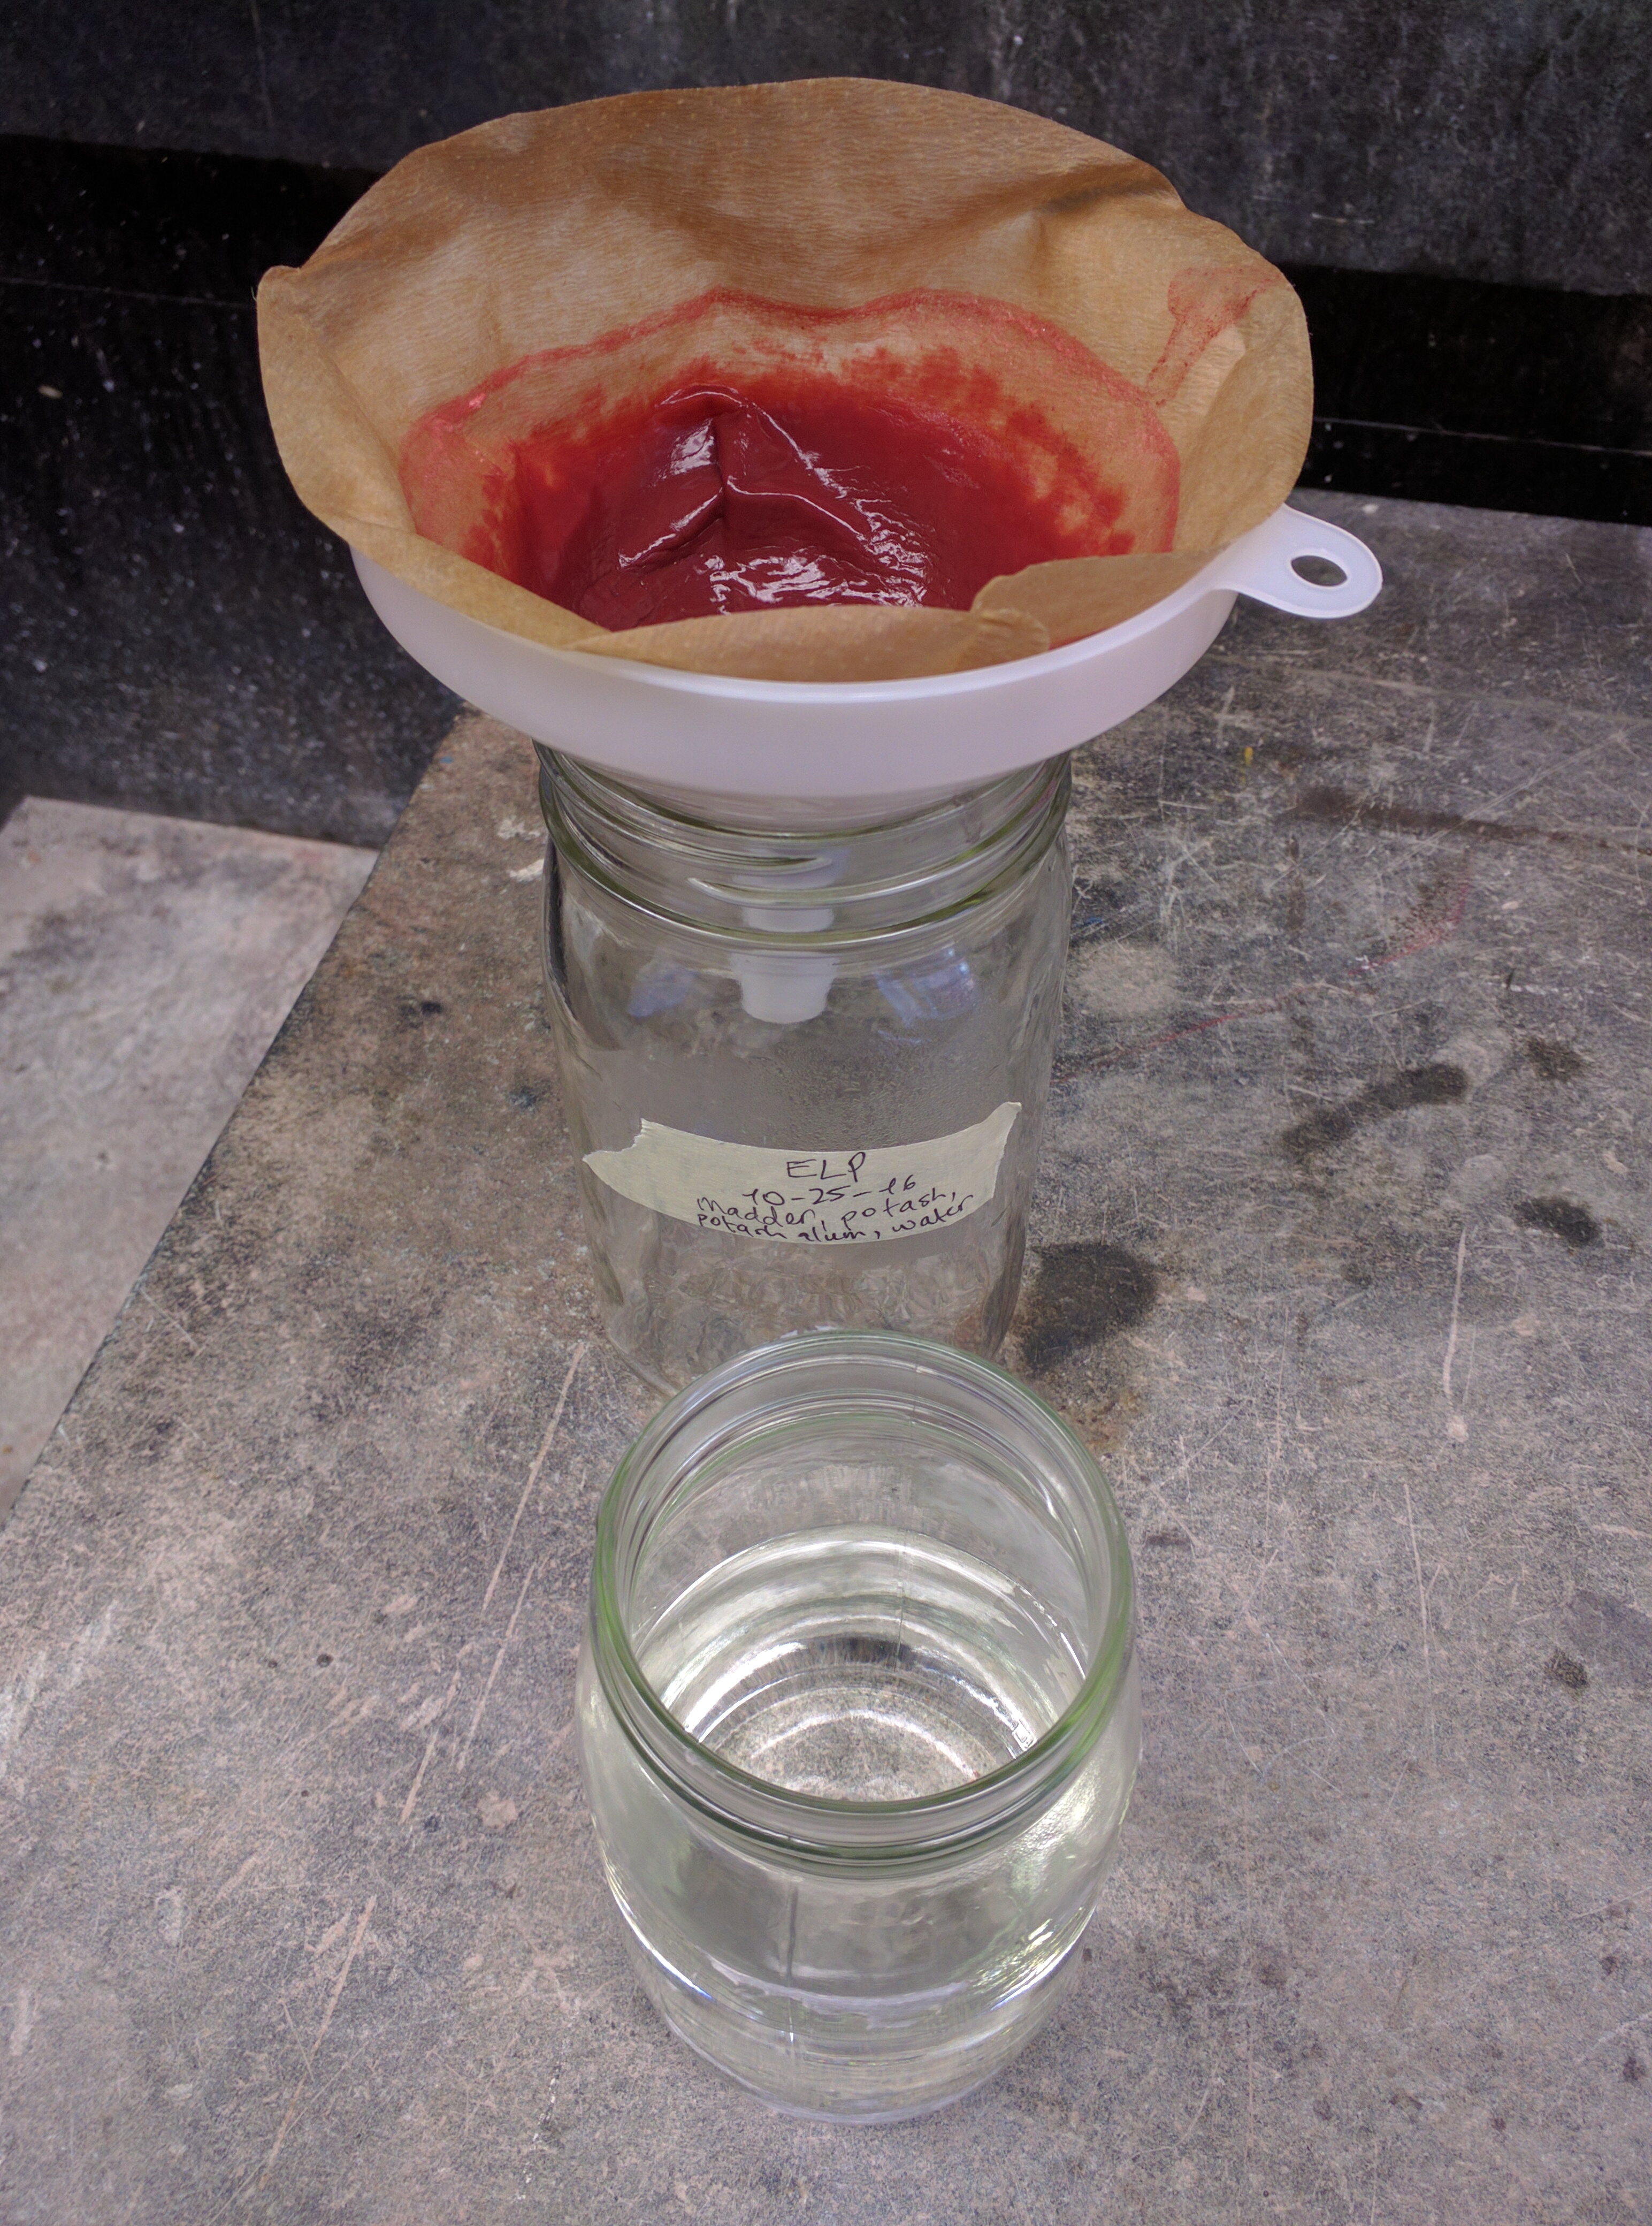
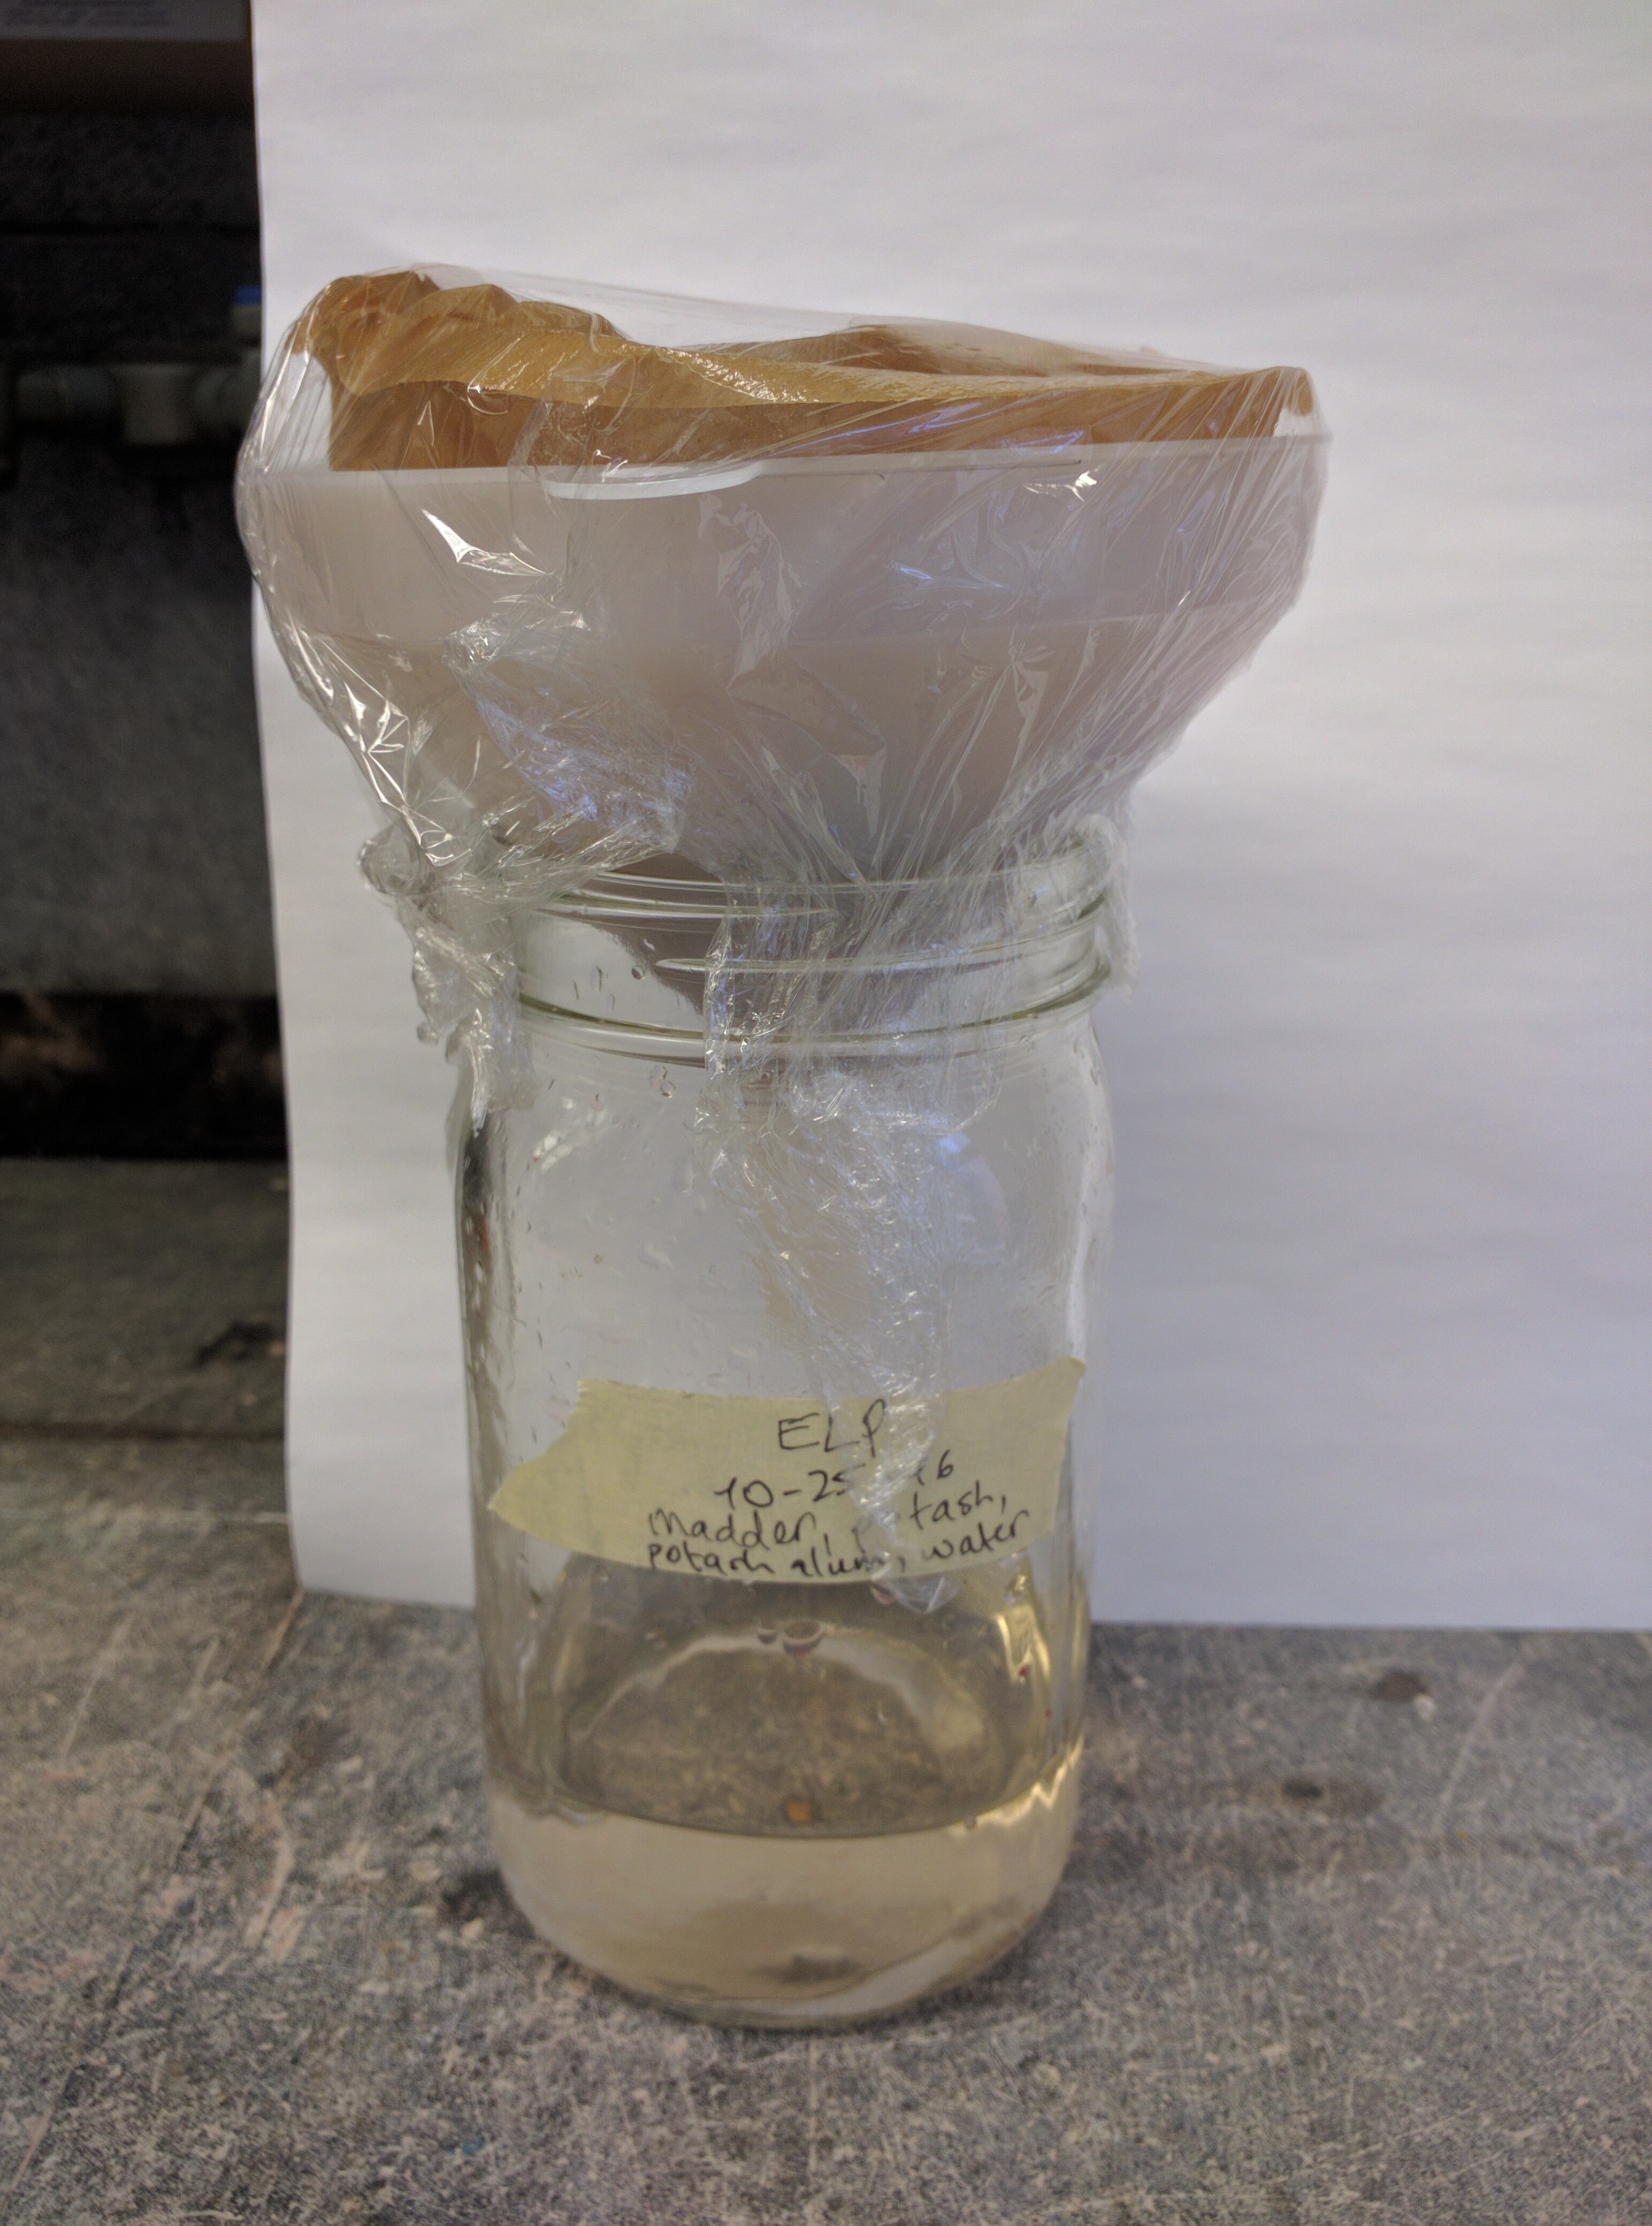
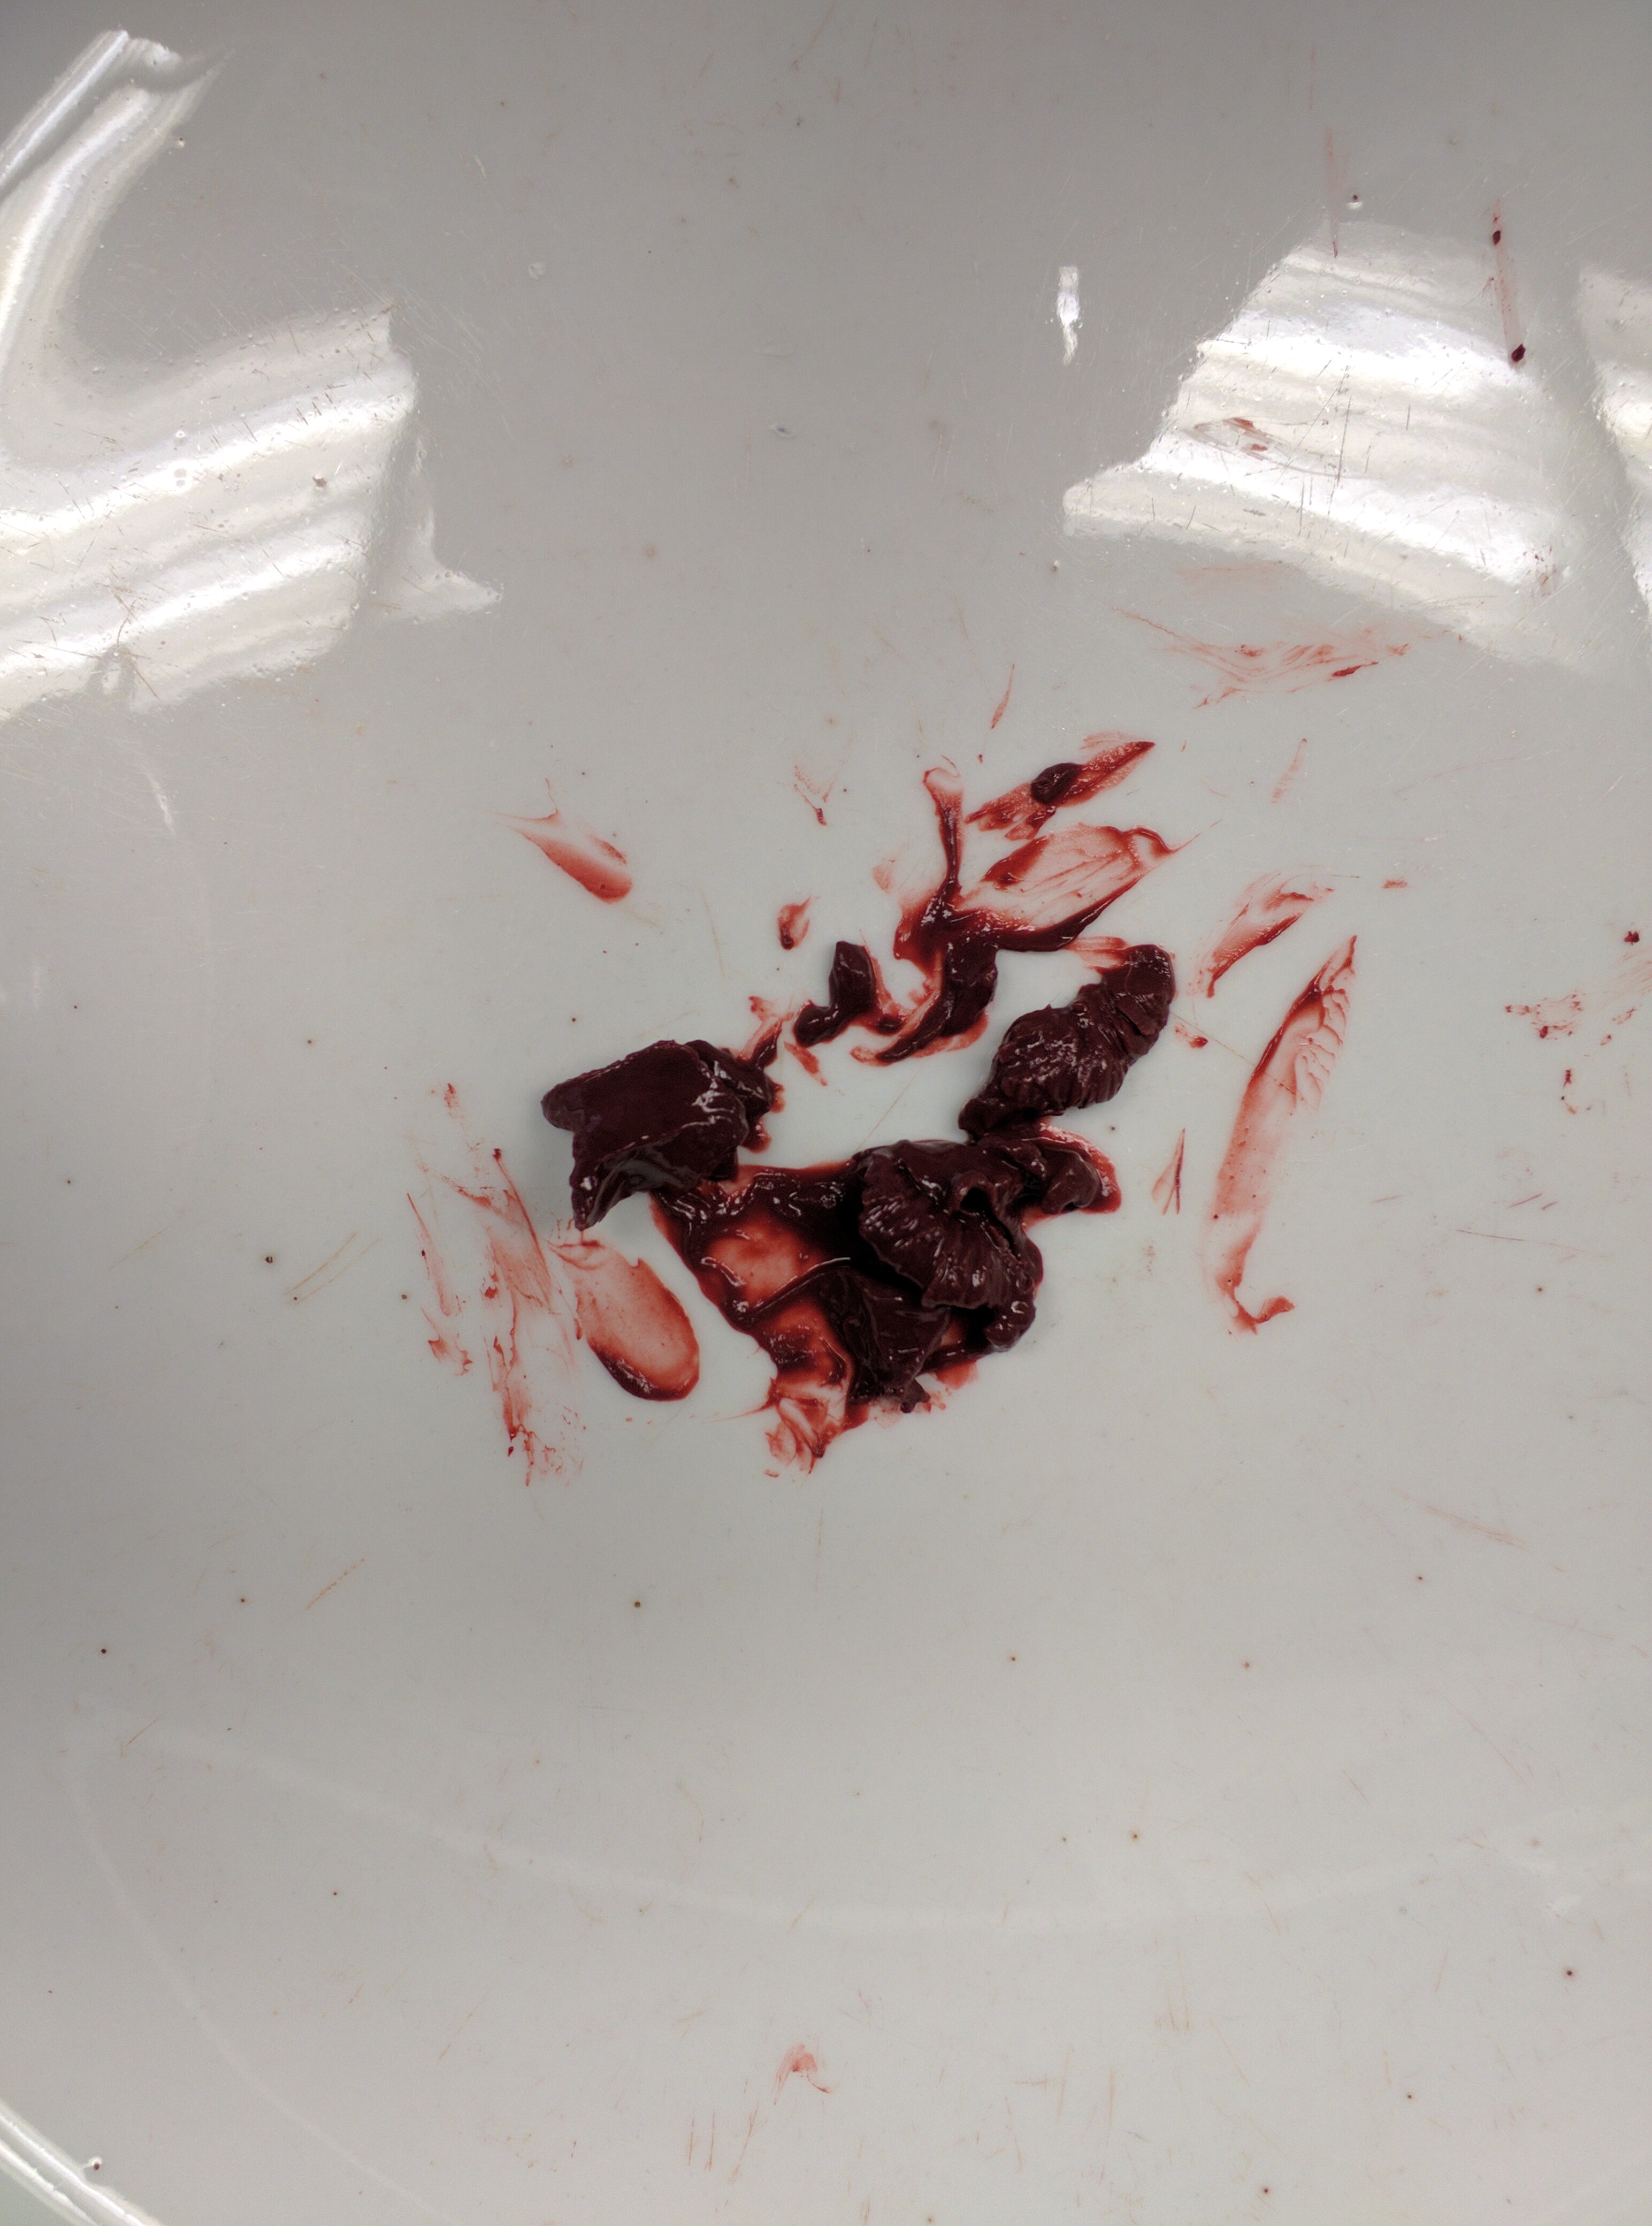
Overnight, my pigment had had time to filter and had left a beautiful red residue on the filter. I discarded the red water in the jar, and placed the filter and funnel back over it. In order to extract impurities, I poured distilled water over the filter (up to where the pigment residue stopped). No water seemed to be dripping, and I wanted to check if the filter was positioned in a way that did not allow the water to flow, but in so doing I ruptured it and very sediment-heavy water began to pour through. Following Professor Smith's advice, I waited until most of the water was in the jar below and added a second coffee filter below the first, and then transferred the red water to another jar to pour it over the filter again. This solved the problem as I saw that the water slowly dripping into the jar below appeared very clear. The instructions did not specify how clear "clear" is, and I could see the water had a slight orange tinge. I left the lab, as this was going to take a while and I had a meeting, and returned a little over an hour after I poured the red water over the two filters to find that most of the water had been filtered, leaving a very slightly colored water in the beaker below. While I was gone, Professor Smith deemed the water to be quite clear and perhaps only needing one more wash, so I once again poured distilled water over the funnel to where the pigment residue stopped, and left this to filter and dry out. I will see on Monday how the pigment turned out.
The pigment after one night of filtering, before washing
After adding a second filter paper (following the fiasco with the ruptured one), the water from the first wash has a slight orange tinge
-------------------------------------------------------------------------------------------------------------------------------------------------
Name: Emma Le Pouésard
Date and Time: 10/24/2016 12:45 pm
Location: Making and Knowing Lab
Subject: Painting out madder lake
Given that our madder lake had not had time to fully dry, Professor Smith decided to have make a "tempera" (in quotations because the term as is shown in Cleo Nisse's Annotation is actually unclear in this period). Our first step was therefore to crack and separate eggs, as we were going to use the whites and the yolks separately. This separation was carried out by cracking the egg on the edge of the bowl and dropping the yolk gently into cupped fingers, allowing the white to run into the bowl below. I did not take part in this task but watched my classmates. Professor Smith also told us that a variety of other ingredients were often added to tempera, such as water, vinegar, and lemon juice. We therefore were told to experiment with these various materials.
In order to get the egg white smooth enough to be mixed with the pigment, Professor Smith took a natural sponge and created a frothy layer, with the sponge soaking up some of the stringy bits of the white. This was also done by practitioners by passing the white through a cloth. Conservators today put the white in a blender, blending in short bursts and letting the white settle in between.
The yolk was similarly readied for its role as a base for the pigment by gently passing it from hand to hand to get rid of the thin filmy layer of white. However, all of our yolks broke in this process, so Professor Smith resorted to pinching off the skin of the yolk with her index and thumb, leaving a homogenous pool of yolk in a plastic ramequin.
We then collected together our various bases in plastic ramequins.
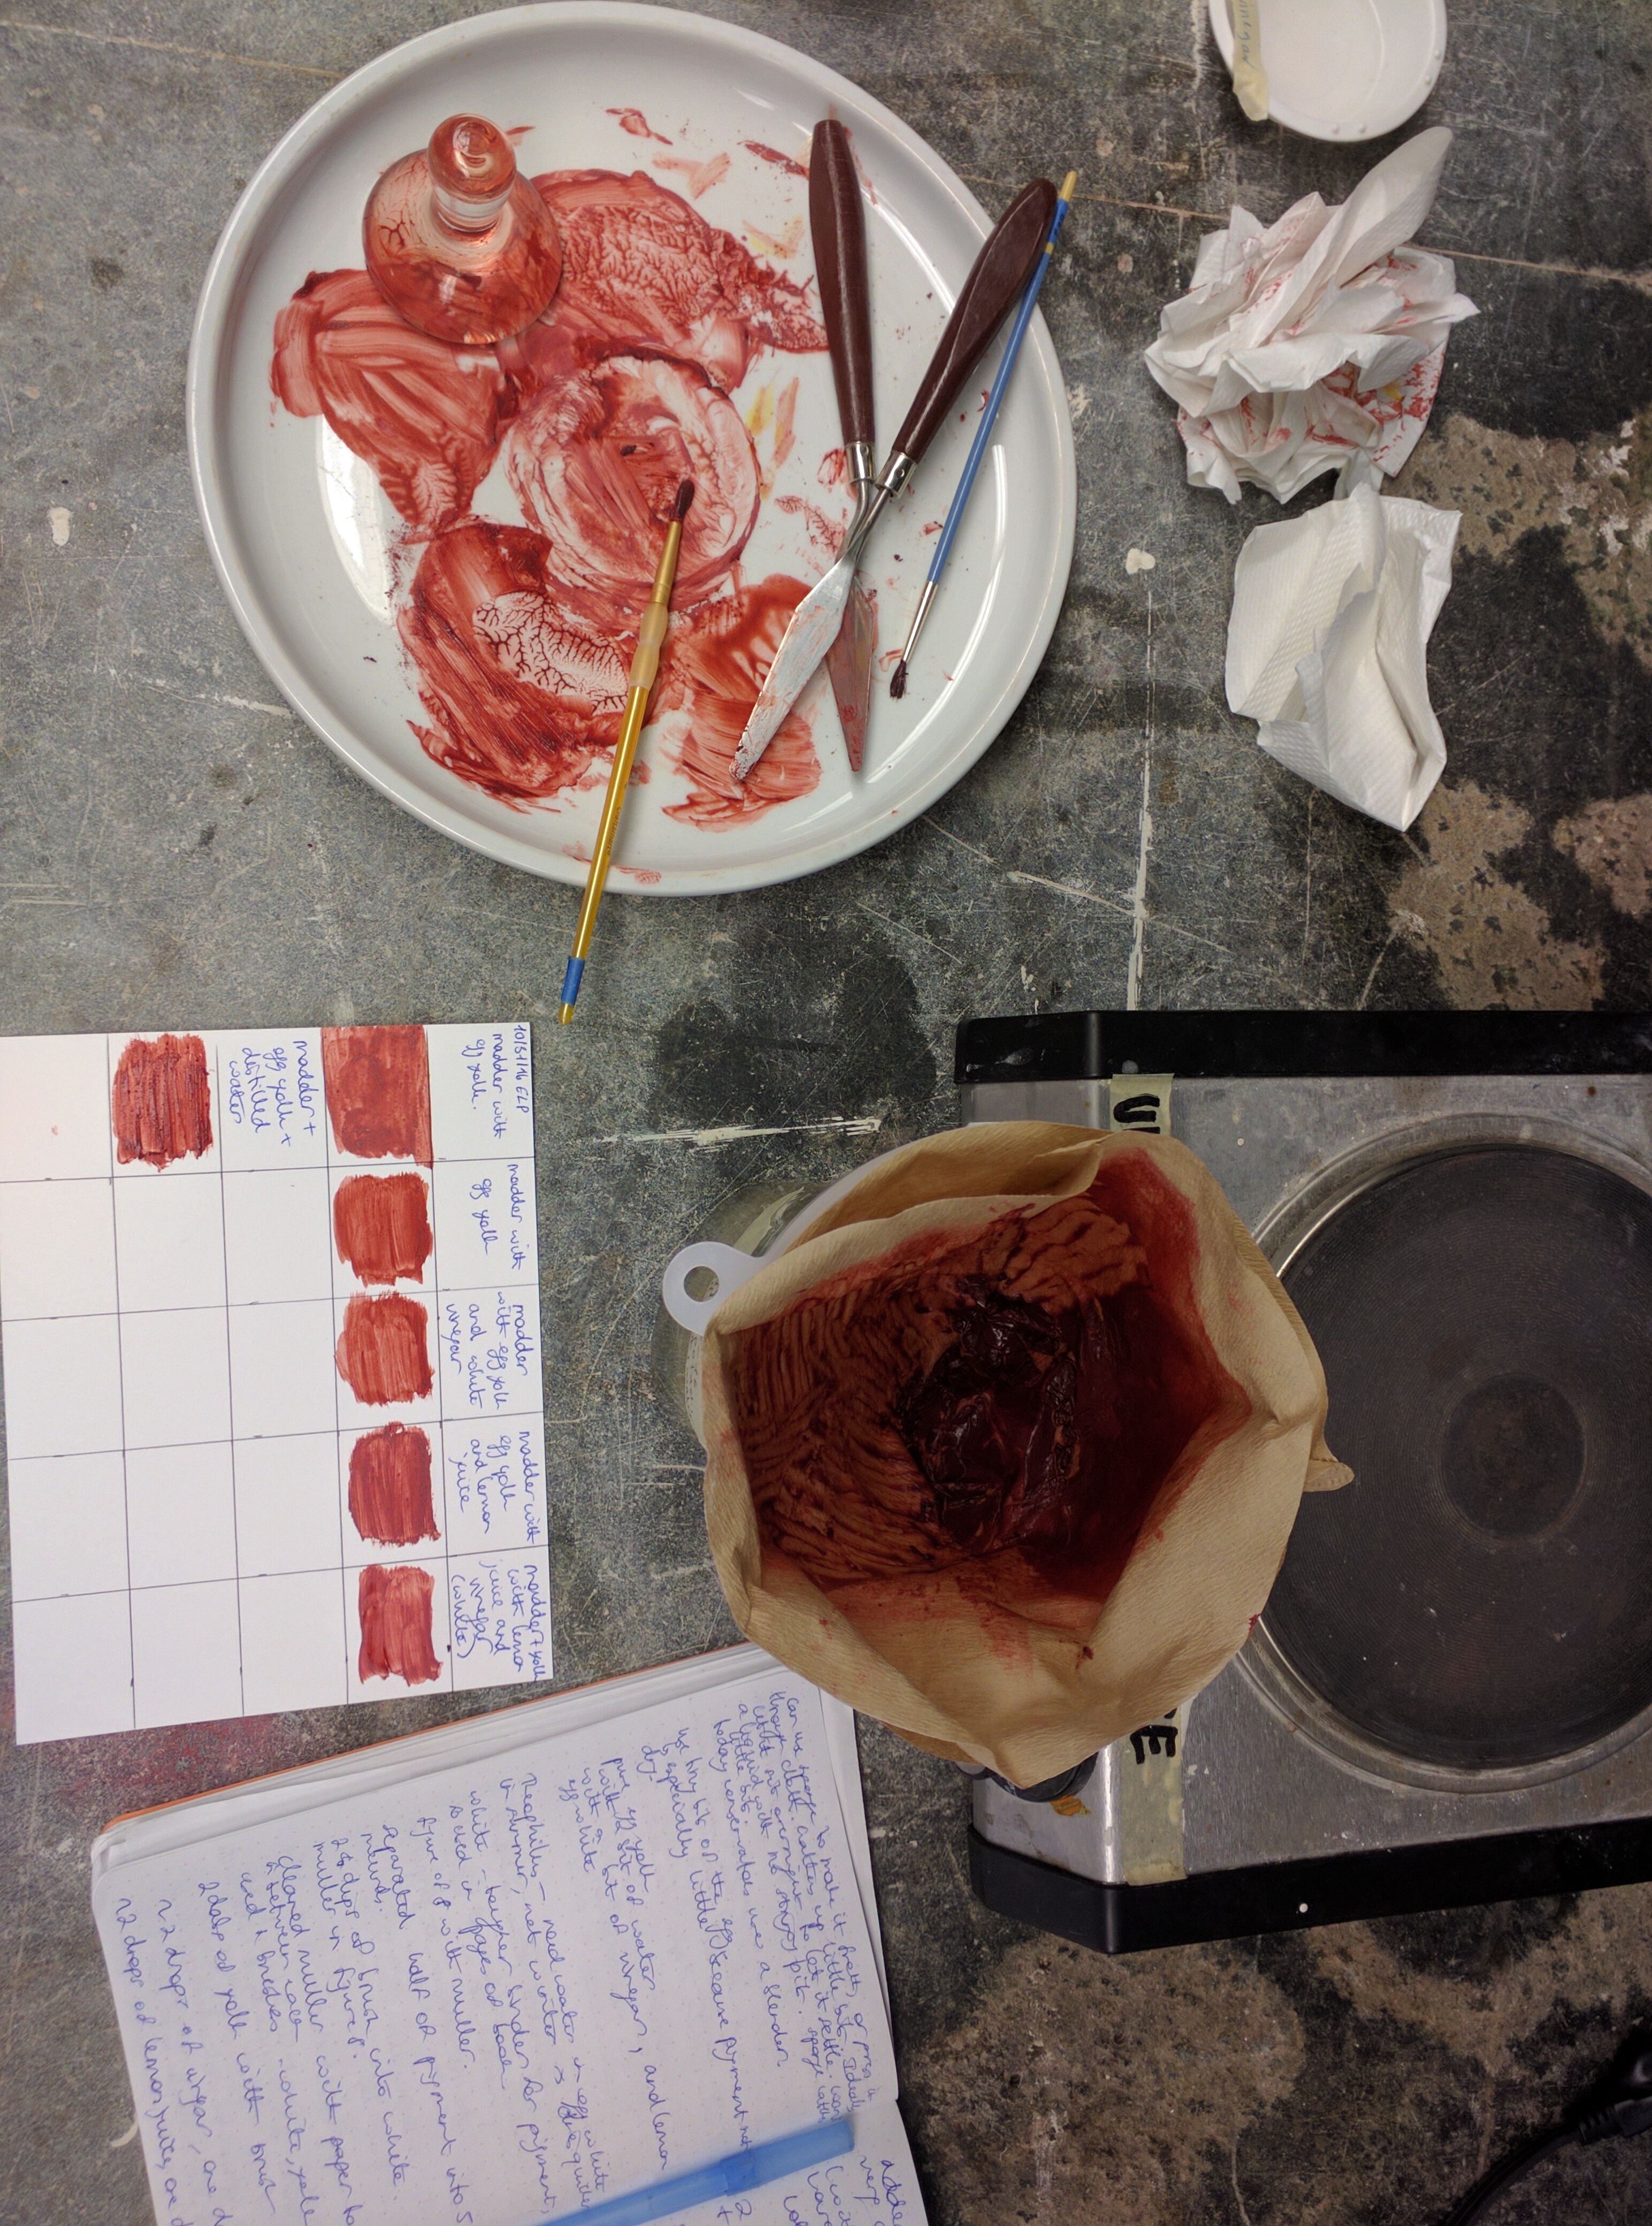
We used a muller to grind our pigment with the various ingredients. As we wanted to leave some of the madder lake to properly dry, we only scraped half of the pigment off our filter and put the rest in the fume hood to dry out. We then separated the half to be used today into as many sections as combinations of materials we wanted to try. For me, this turned out to be 6.
I started off with just egg white, which I found odd in texture - it created a slippery substance that created a lot of suction between the muller and the plate. Moving the muller in a figure eight was effortless, but in painting out, it seems the froth from the white translated into little air bubbles, indicating we should have let the white sit a while longer. Since our pigment was still rather wet, I only used very little, dipping a paintbrush into the white and dabbing it on the pigment twice. Apparently, white is a tougher binder for pigment that yolk, and so was traditionally used in manuscript illumination as it withstood this medium's usage better.
After wiping off the muller with a paper towel (which I did in between each new material), I then tried just egg yolk, which gave a slightly darker, brighter, and stickier paint. I similarly used two dabs of yolk, using a different brush. I wiped off the brush in between each use.
I then used one dab of egg yolk and two drops of white vinegar, which I measured using a pipette. The color and consistency of the paint came out very similar to that of the pigment with only yolk.
Next, I tried egg yolk, again one dab, and two drops of lemon juice. The resulting paint felt extremely dry, though it had the same quantity of liquid as the previous trial. I therefore added one more drop of lemon juice, which did not help. Grinding was therefore quite inefficient and difficult, though the consistency of the paint was not markedly different from that of the two previous ones. However, the color did come out a shade darker.
I then tried to combine one dab of egg yolk with two drops of white vinegar and lemon juice each, which gave me a much smoother consistency than the lemon juice and yolk alone.
Finally, I tried one dab of egg yolk and two drops of water. I added the water first, and noticed how, unlike the vinegar and lemon juice, it was immediately absorbed by the pigment, which was interesting. The texture looked different, perhaps slightly grainier or thicker, than when I used two dabs of egg yolk, and the color a tad darker.
One final observation is that the color across all combinations appeared to "die" extremely quickly, fading from a bright and rich red to a more muted color within mere minutes. Let's see how it looks in two weeks.
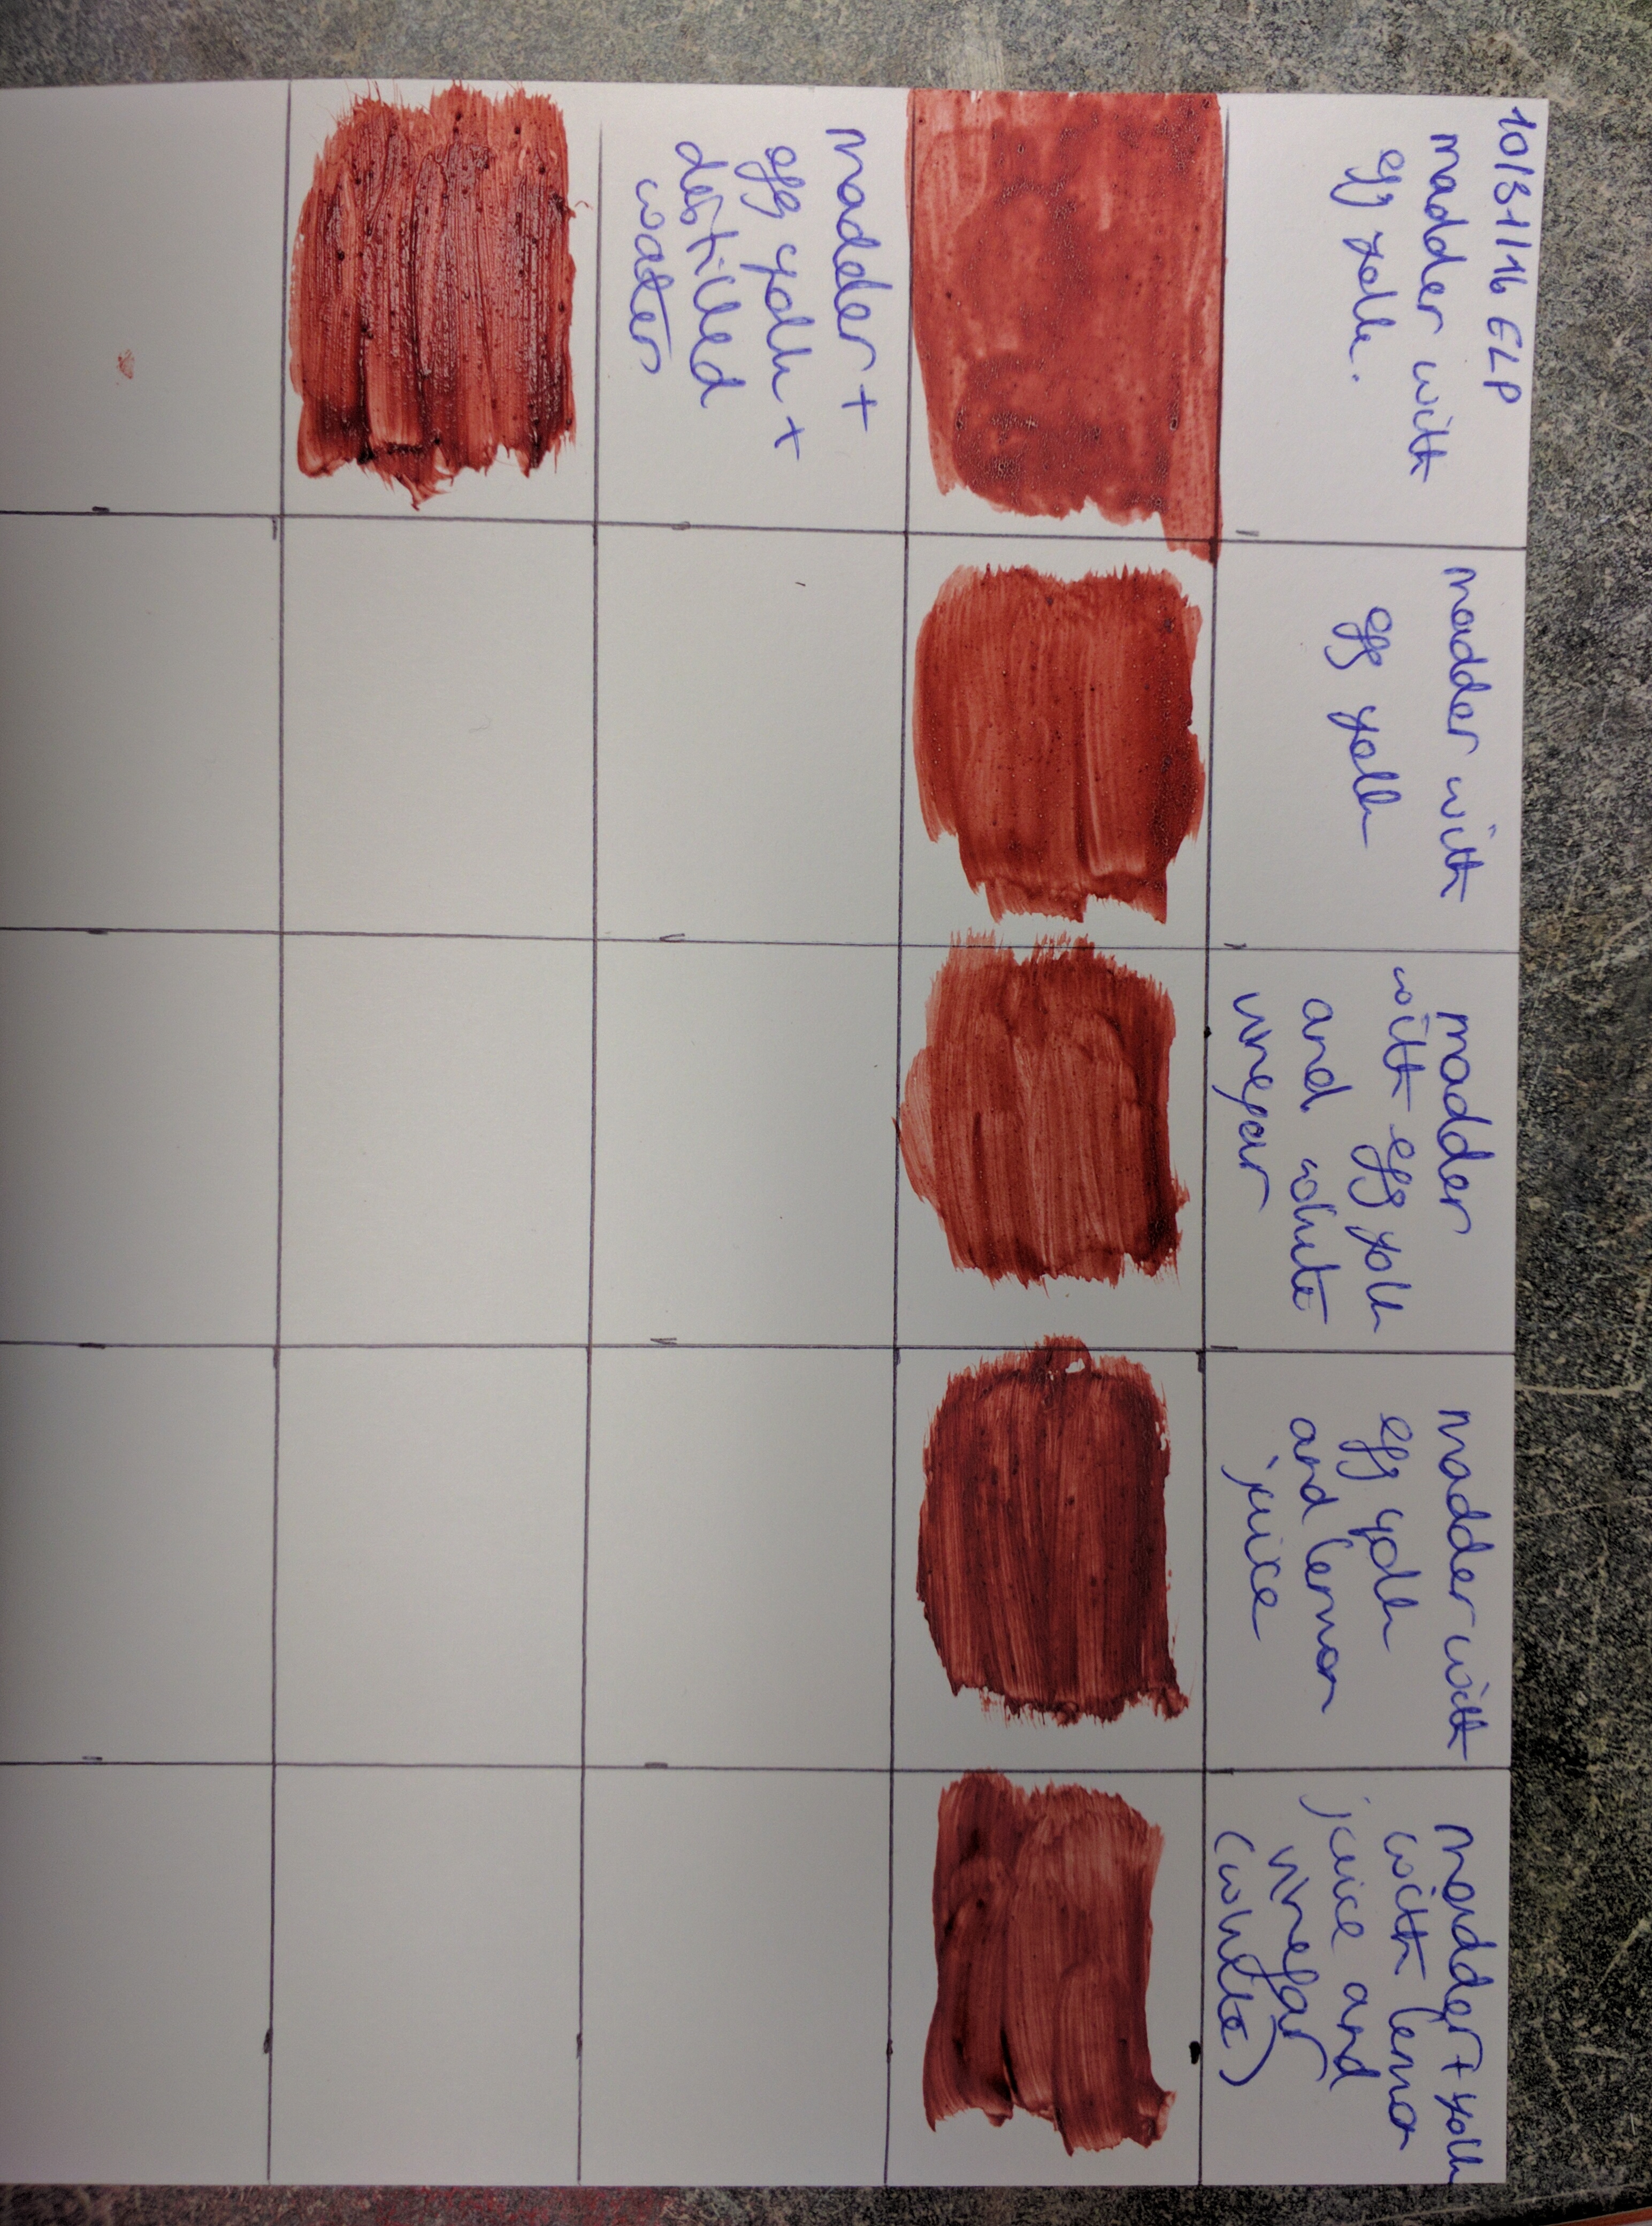
Note: The grid needs correcting, the first square is not madder with egg yolk but madder with egg white.
